
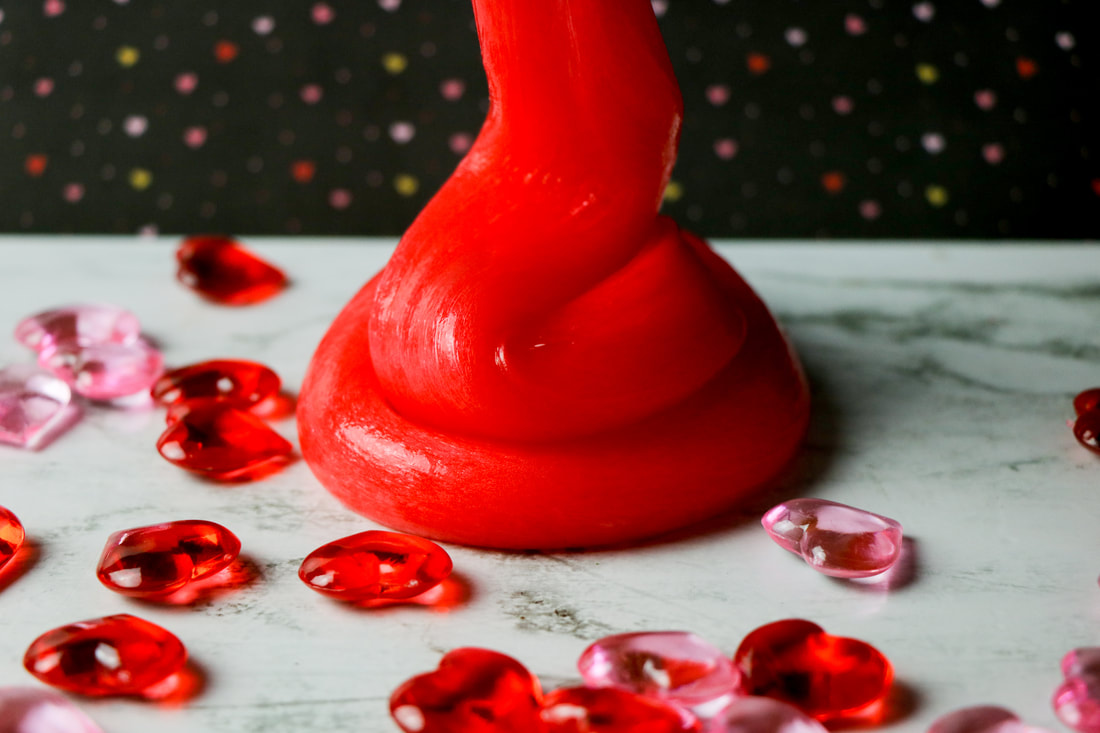
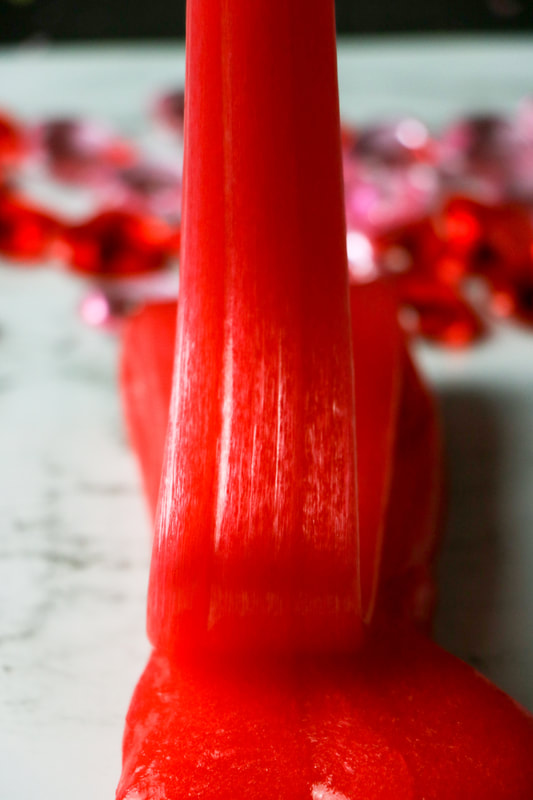
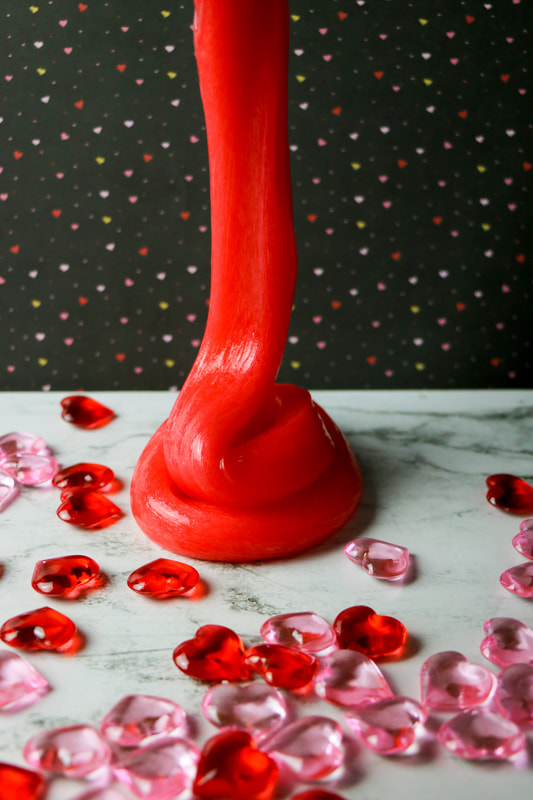
Strawberry Scented Slime
This strawberry scented slime is a fun way to interact with your kids and teach about chemistry. This is a freebie just for subscribing to Homeschooling One Child's email newsletter. Thanks!
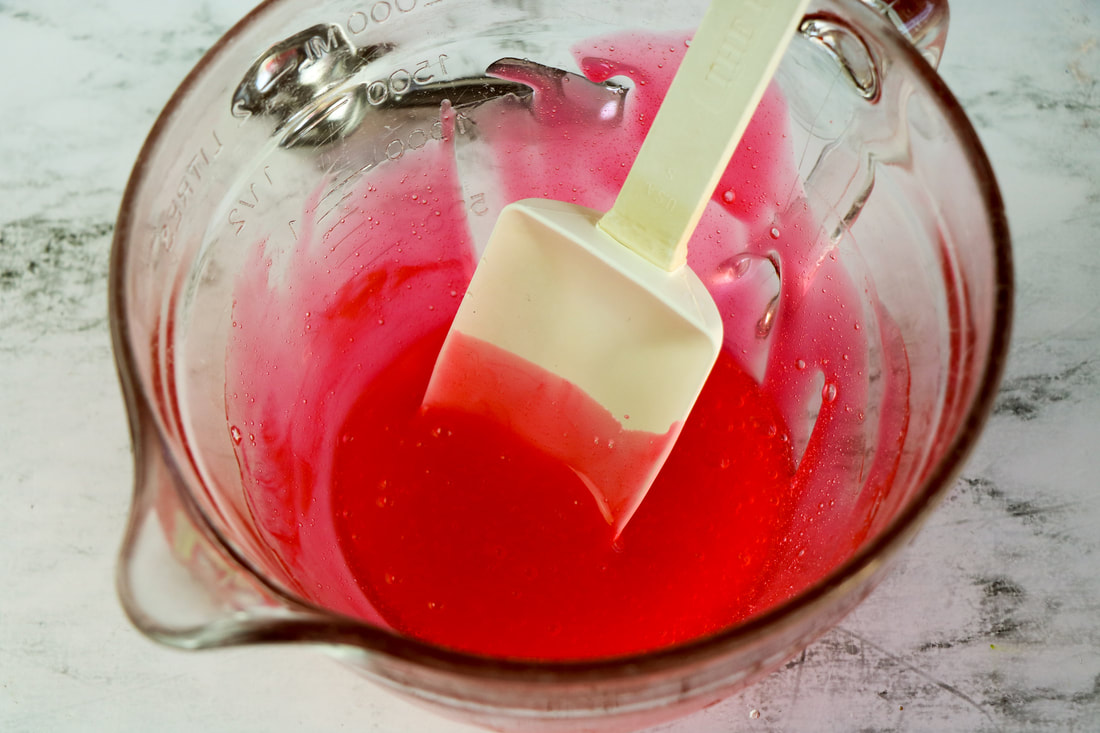
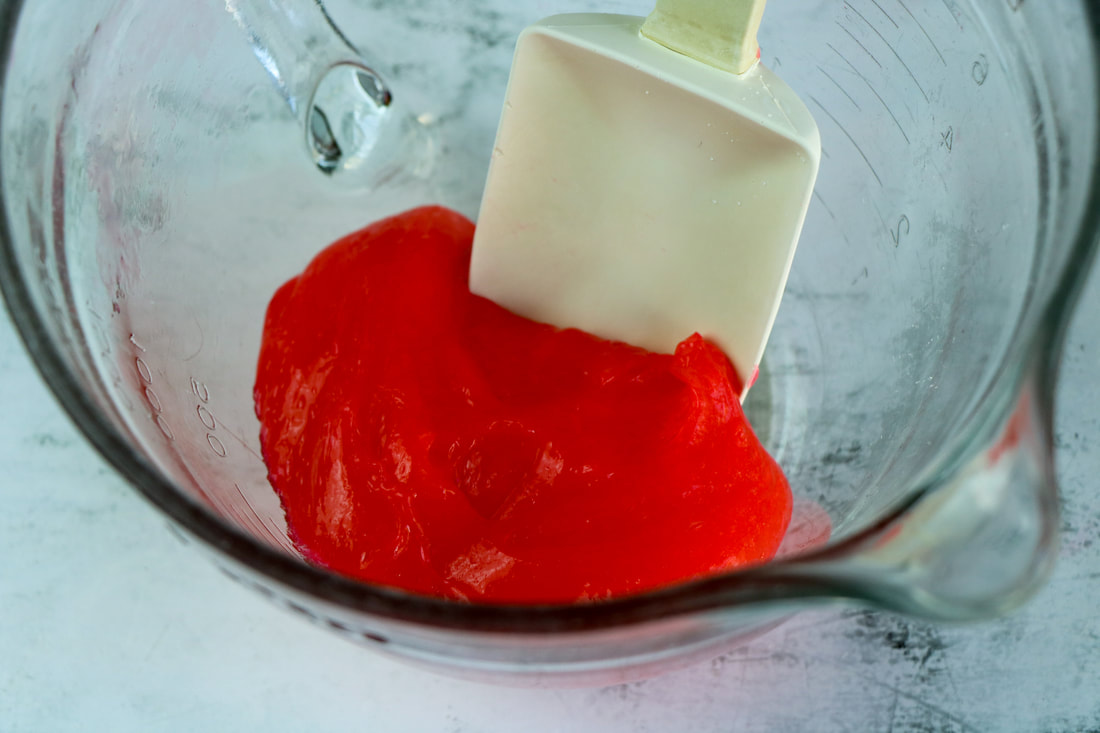
Directions1 (6 ounce) bottles Elmer's Glue
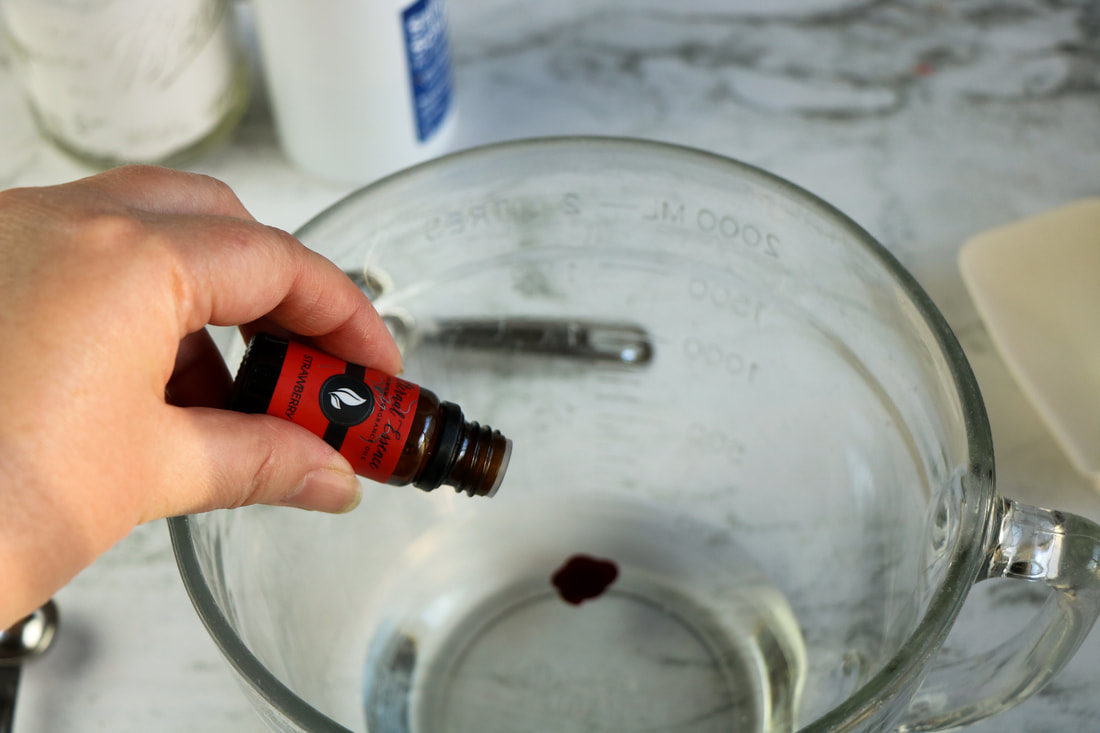
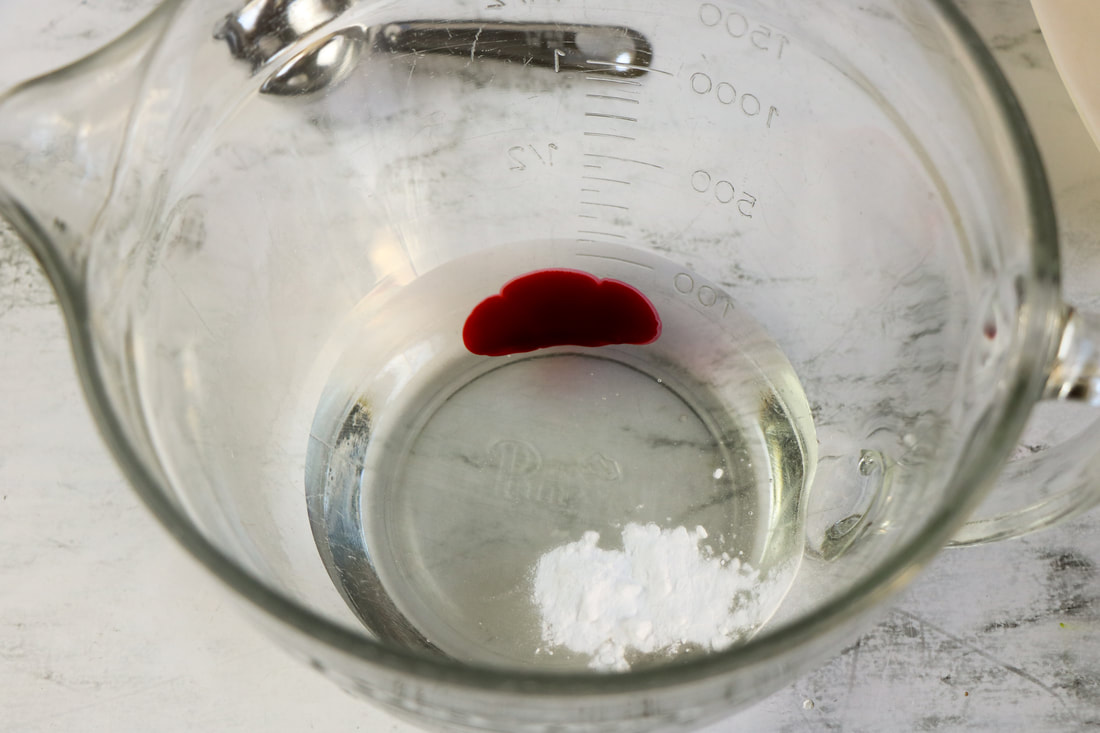
About ½ cup warm water ½ teaspoon baking soda 1 tablespoon contact lens solution (containing boric acid), for each batch 1 teaspoon strawberry scent Red or pink food coloring
|
Process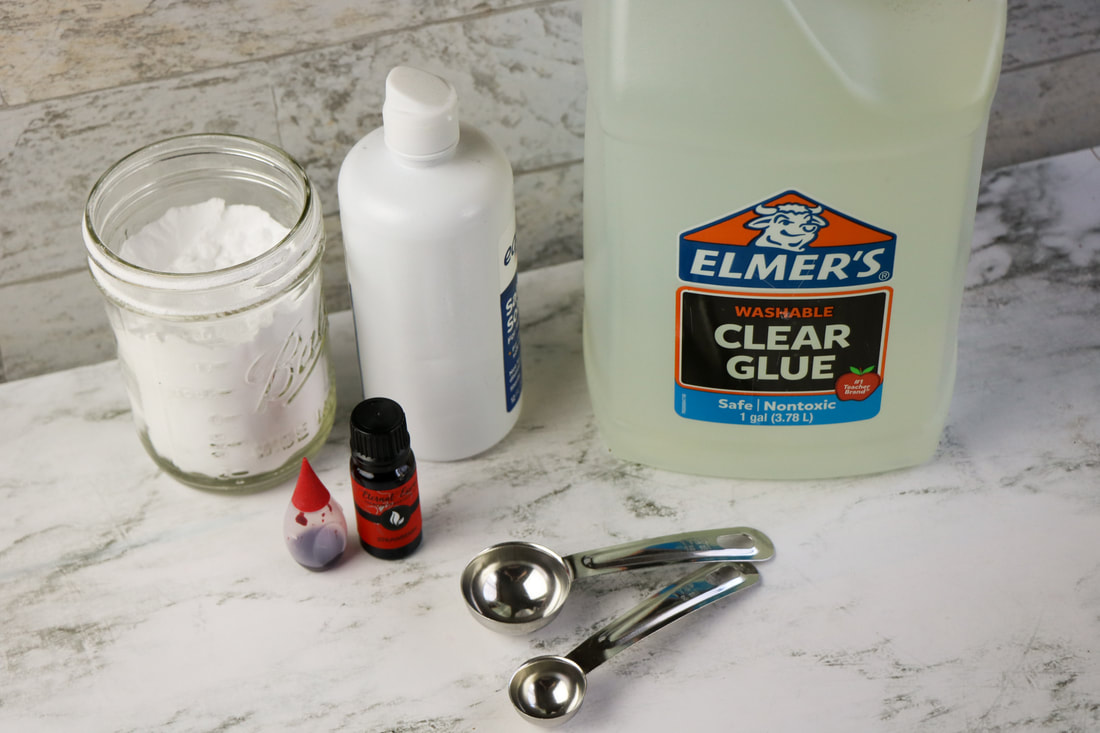
|
|
|